With Squarespace 5, website members have a unique identifier in comments and can subscribe to site updates. You can also give them different site access from the general public, including viewing restricted pages and editorial privileges.
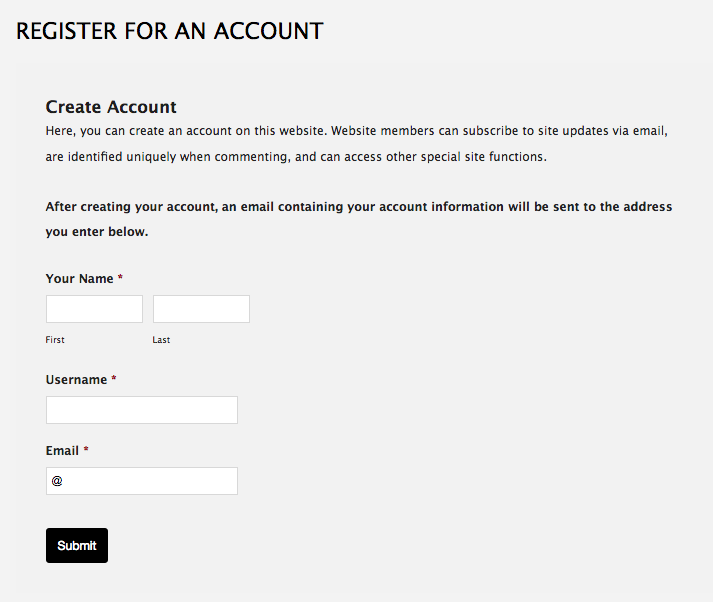
A registration form page allows visitors to sign up for a member account themselves. This automates the membership process and saves you from having to add members manually.
Note: Site members are available in the Unlimited billing plan.
This guide explains how to set up and style your registration page.

Step 1 - Determine your audience
You'll assign all members who sign up through your registration page to an audience. The settings for the audience determine that member account's permissions and site access.
If you haven't already, set up an audience that you want your self-registering members to be assigned to. To learn more, visit Adding and editing audiences.
Note: You may want to use the default audience, The Public. Any members assigned to The Public can get site updates and have a unique identifier in comments, but can't see restricted pages or edit content. You can manually assign any member to a different audience later on.
Step 2 - Add a registration page to your site
In Structure Mode, click Add Page.

Select the Registration page type and click Select & Configure.

In the Registration Page Configuration window:
- Add a page title.
- Choose an audience from the Default Audience drop-down.
- Review and adjust the other settings in the configuration window to set your preferences for the page and registration process. For example, check Require Email Validation to require email verification for new members.
- Click Create Page.
To adjust the settings for the registration page in the future, go to Structure Mode and click Configure this page.
Step 3 - Customize the registration page text
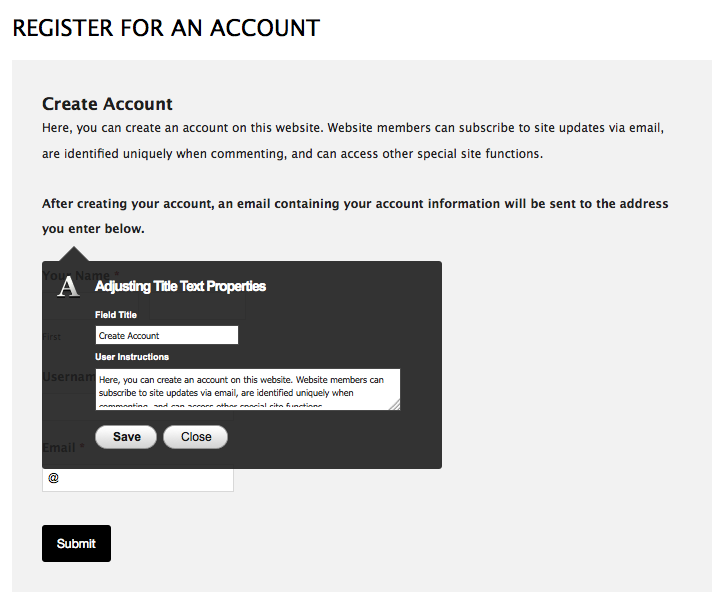
Once you've created your page, you can customize the page title, field titles and default text fields. Customizing your page text is a good way to provide information about your site and the benefits of becoming a member.
To adjust the text on the page, go to Content Mode and click on the page text to open pop-up editors.
There's a 100 character limit in form title fields. You can add valid HTML to text fields or the form confirmation message field. You can't add javascript to forms or HTML to form data fields.

Step 4: Enable your page
Once you have completed the process of setting up your page, enable it to make it live. To enable the page, go to Structure Mode, hover over the page link in the navigation, and click Enable. You can also enable and move the page in your Architecture.

What happens next
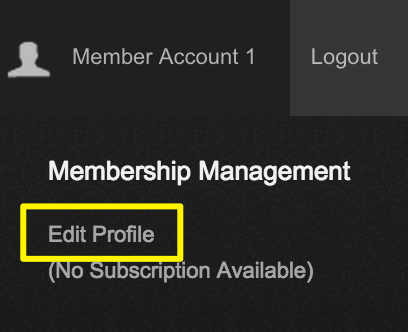
When a visitor registers as a member, they receive an email with their login name and an automatically-generated password. They can adjust their password and profile details by clicking on their name and then Edit Profile.

To learn more about member accounts, visit Creating member accounts.